Writing a lot of standard replies can be a piece of cake – or a real pain in the neck, depending on which tools you use. Here you will find a simple step-by-step guide to creating reply templates from emails with the use of a MAPILab add-in called Quick Templates for Outlook. With this hassle-free solution there’s no need for copy-pasting anymore!
Specialists in customer support and marketing often have to deal with bulk of similar requests and questions from customers and partners, so writing tons of standard replies is part of their daily routine. Quite naturally, you can copy and paste standard fragments of text from external documents or emails, but in this case you risk formatting issues, especially in HTML messages. Alternatively, you can try a built-in tool for Outlook by MAPILab which enables to create reply templates based on received or created messages right inside your Outlook. Today we will show you how simple it can be.
The add-in called Quick Templates for Outlook lives up to its name: it is a perfectly integrated and user- friendly solution which simplifies writing standard replies without resorting to external sources. After installing it in just a few clicks, you’ll find it on the Ribbon under MAPILab Tab alongside other MAPILab tools (if you have any).

In the message window you will find the add-in under MAPILab Tab as well. To initiate creation of a template from a message you received or just composed, all you need is to highlight the text fragment you would like to include and hit ‘Add.’

Then you’ll be able to enter the name of your template and edit it using the full functionality of Microsoft Word.
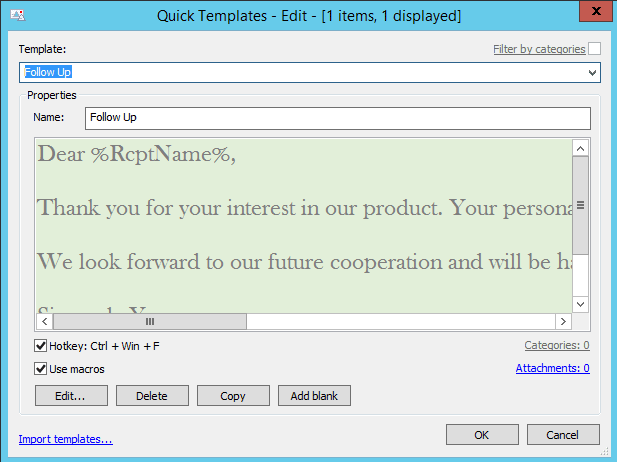
When you have saved the changes, you can assign a hot key combination for this template to be able to access it at the blink of an eye.

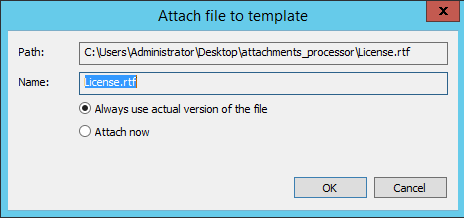
If you have included any macros in your message, remember to check ‘Use macros.’ Furthermore, you can attach a file to your template, with a useful option of keeping your attachment up-to-date, so that your recipient would always get the most recent version of the file.
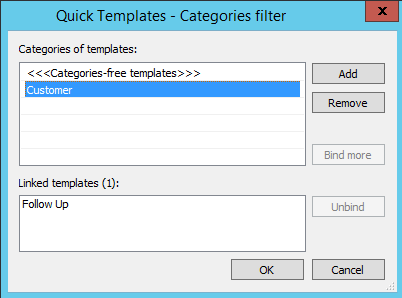
Assigning categories is a nice way of organizing your templates, especially if you use a lot of them, as looking for the right one in a long list could take you quite a while. To create a new category, click ‘Add,’ enter its name, then highlight it in the list and click ‘Bind more’ to choose templates to be moved to this category.
In the Settings window, which has only one tab, you can change the destination folder for your templates, for instance, choosing a public folder to share your templates with colleagues.
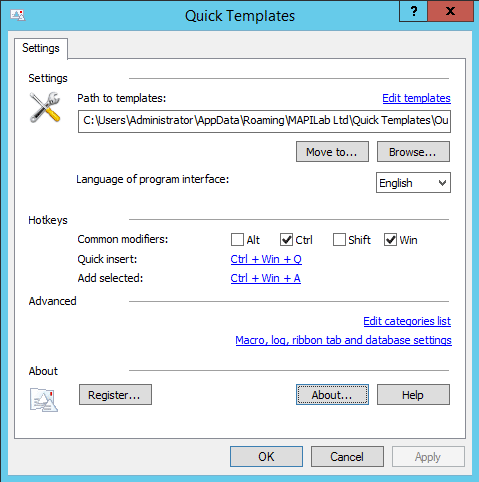
What is more, there is a shortcut to editing categories, macros and more under Advanced. You can edit macros – or at least find out what they look like – to use them in your templates. Default macros include recipient’s name, recipient’s address, date and time, and template substitution.

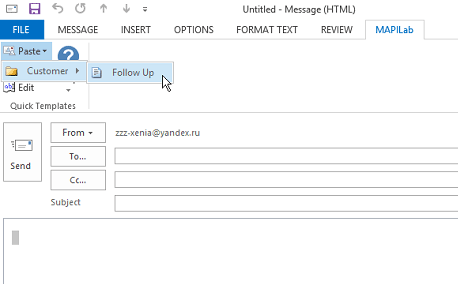
Now that you have created a template, let’s see how it works in real life. As you create a new message or write a reply, you can either press the hot key combination or look for the required template under MAPILab Tab in the message window. In the dropdown menu under ‘Paste’ you will find all the templates and categories that you’ve created.
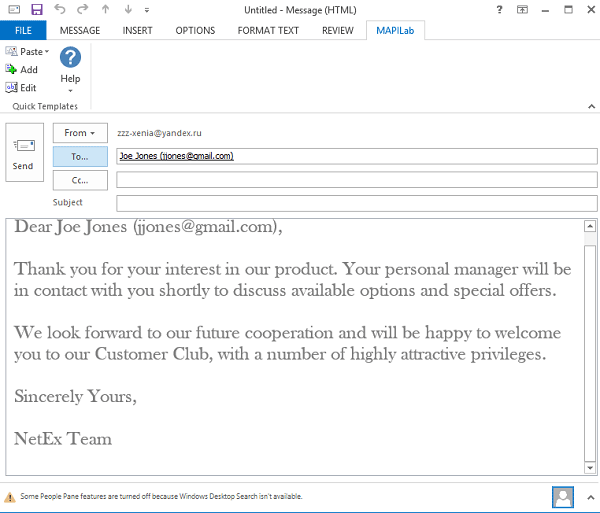
If you’re applying the template to a new message, remember to enter the recipient’s name first for the macro to function correctly.
As you can see, there is nothing complicated about creating built-in Outlook templates from emails. At the same time, it saves a lot of time and effort for those who send a lot of standard messages.